Apparel Buying TipsA practical briefing for logos, decoration methods, stitch counts, and size mixes so a custom golf-shirt order looks sharp and lands in the right sizes. 
Get the artwork ready before anyone touches a garmentClean source files do more for the finished shirt than any last-minute tweak on press. “Production-ready” art is a vector or high-resolution file that can go to digitizing or prepress without being redrawn. The notes below keep a logo readable on a polo, a woven, or an outer layer. What to sendPreferred files
Acceptable when vector is unavailable
Adobe Illustrator remains the industry workhorse. CorelDRAW files can work if exported to EPS. Word, Excel, PowerPoint, and Canva exports are starting points, not production files — they often embed low-resolution logos and RGB colors that shift on fabric. What will slow the job down
Hand sketches are still useful as a concept. They need to be redrawn as vectors and then digitized for embroidery. Do not expect a pencil drawing to stitch or print as-is.
How to hand files over now: a shared drive link or a single compressed folder by email is enough. Include the working file, an outlined/exported copy, and a PNG proof that shows the intended colors. Physical media (CD, flash drive) is optional, not required.
Logo placement that still looks intentionalLeft chest remains the default for golf and corporate polos: typically 3 to 4 inches wide, centered about 7 to 9 inches down from the left shoulder point and a few inches off the placket. Use the other spots below when you want a second mark or a less expected layout. Useful logo placementsSpots are shown as the shirt is worn. Left chest is the wearer’s left (right side of the front view). 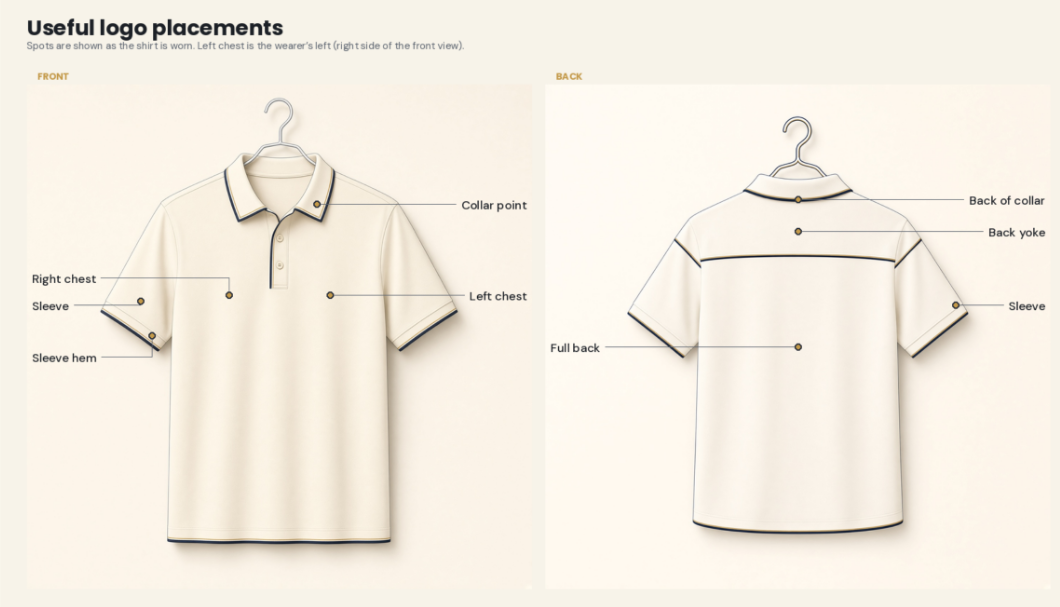
Wearer’s left chest is the right side of the front view. Keep one hero mark; extra locations are supporting hits. Typical size ranges by location
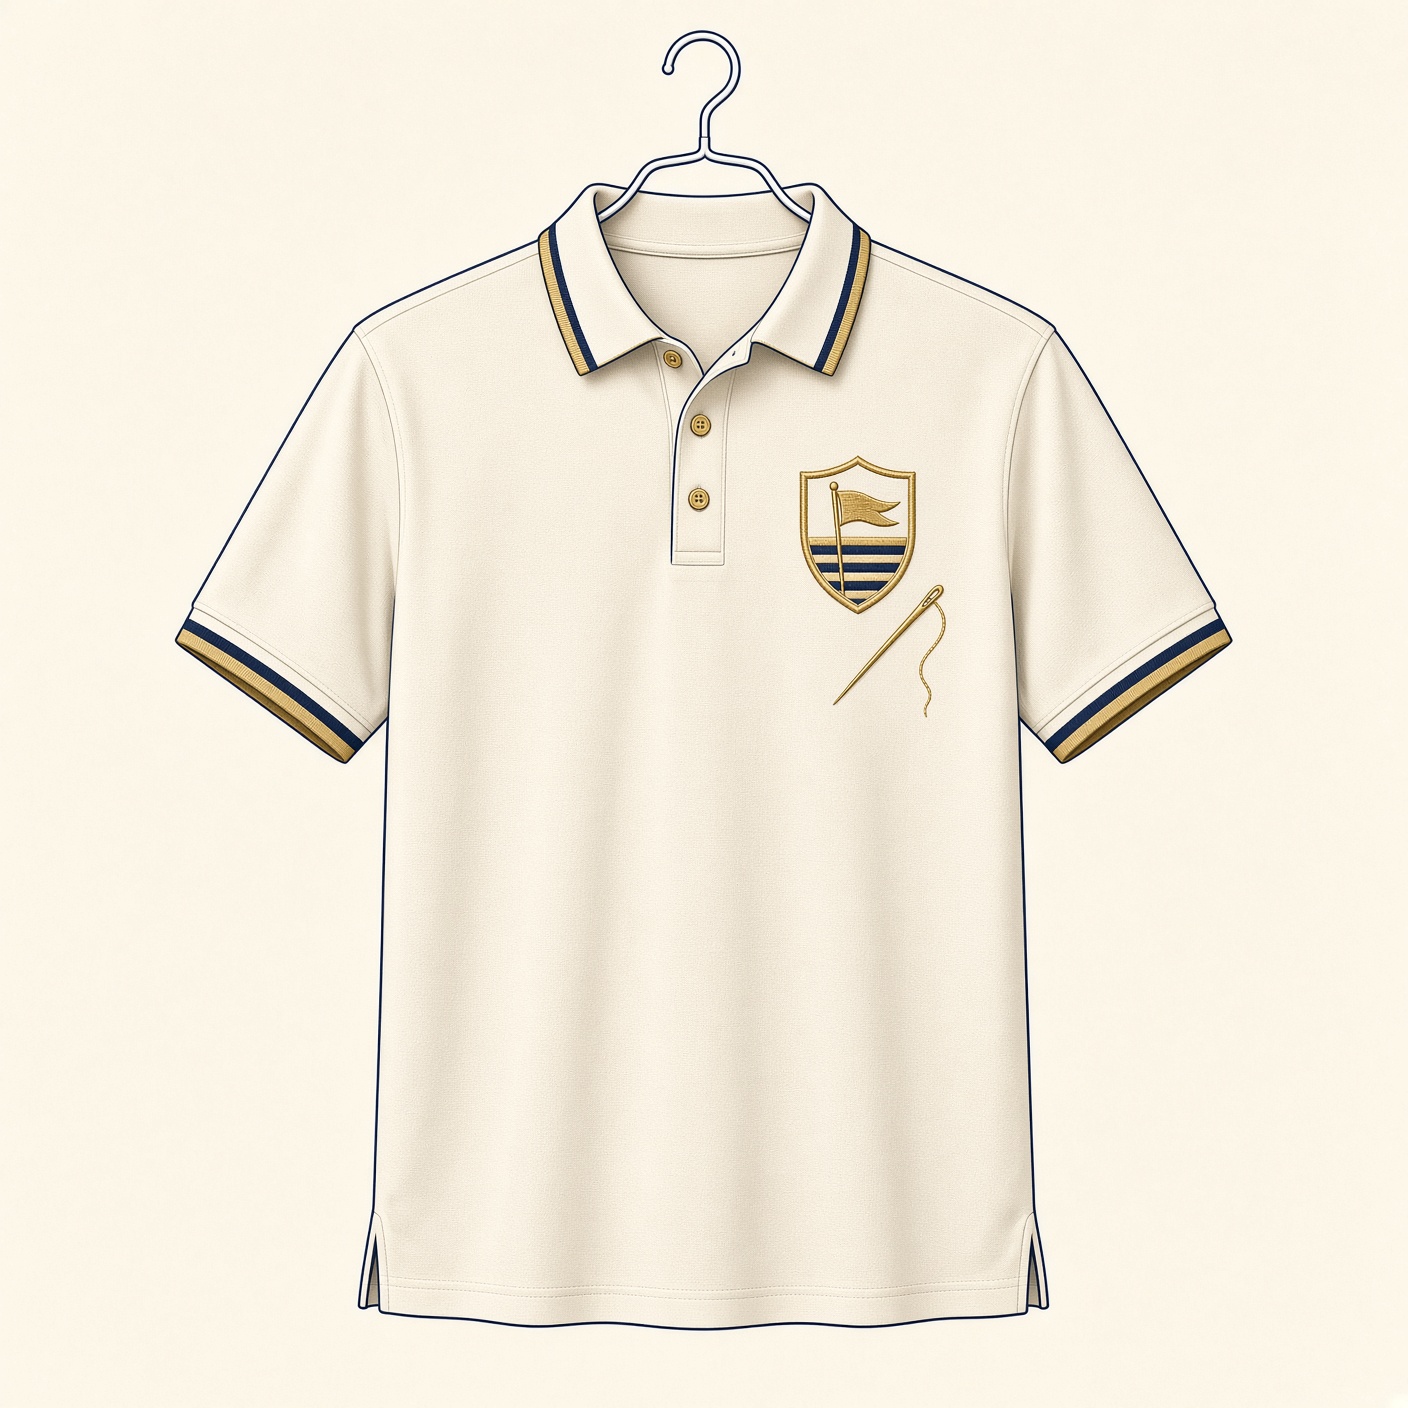
Embroidery: how stitch counts really workEmbroidery is still the first choice on a golf polo. Thread sits above the fabric, holds up to wash and sun, and reads as a finished product rather than a transfer. Price tracks stitch count, thread colors, and the number of locations — not the file name on the art. A working estimateYou do not need a printed grid. Measure the filled area of the logo at the size it will sew, then use these conversions. Open space inside a letter or badge does not count. Stitch-count rules of thumb
Fabric, stabilizer, thread weight, and how dense the digitizer builds the fill all move the final number. A left-chest crest commonly lands between 4,000 and 9,000 stitches. Cap fronts are shorter — usually under about 2.25 inches tall — and need simpler detail.
These numbers are planning estimates only. The stitch count on the actual sew-out is what gets billed. Ask for a digital or stitched sample when the logo is complex, very small, or going on a performance knit that can pucker.
Design choices that sew cleanly
Art that the needle can followThread is not ink. A sew-out is a path of lock-stitches in a few solid colors. Fine type, photographs, and hairline strokes look sharp on a monitor and fall apart on a polo. Build the mark for the needle before you send the file. Give the letters roomType under about 1/4 inch sews as a lump or opens into holes. Script fails sooner than block at the same height. Keep names and taglines large enough to fill with satin, or move that line off the sew-out and print it. Draw the mark. Do not sew the photo.A photograph is thousands of tonal steps. A sew-out is a handful of thread colors with hard edges. Flatten the idea into two or three solid shapes. No fade, no background photo, no texture that only works in ink. Thicken every stroke before you send the fileA half-point outline looks clean on screen and vanishes in pique. At final size a line needs about 1 mm of width or the needle has nothing to lock. If a stroke is only decorative, delete it rather than hoping the digitizer can save it.
These rules are about the sew-out, not the brand file you archive. Send a vector or a high-resolution flat graphic at the size it will stitch. A detailed logo can still go on DTG, DTF, or screen print when embroidery is the wrong tool.
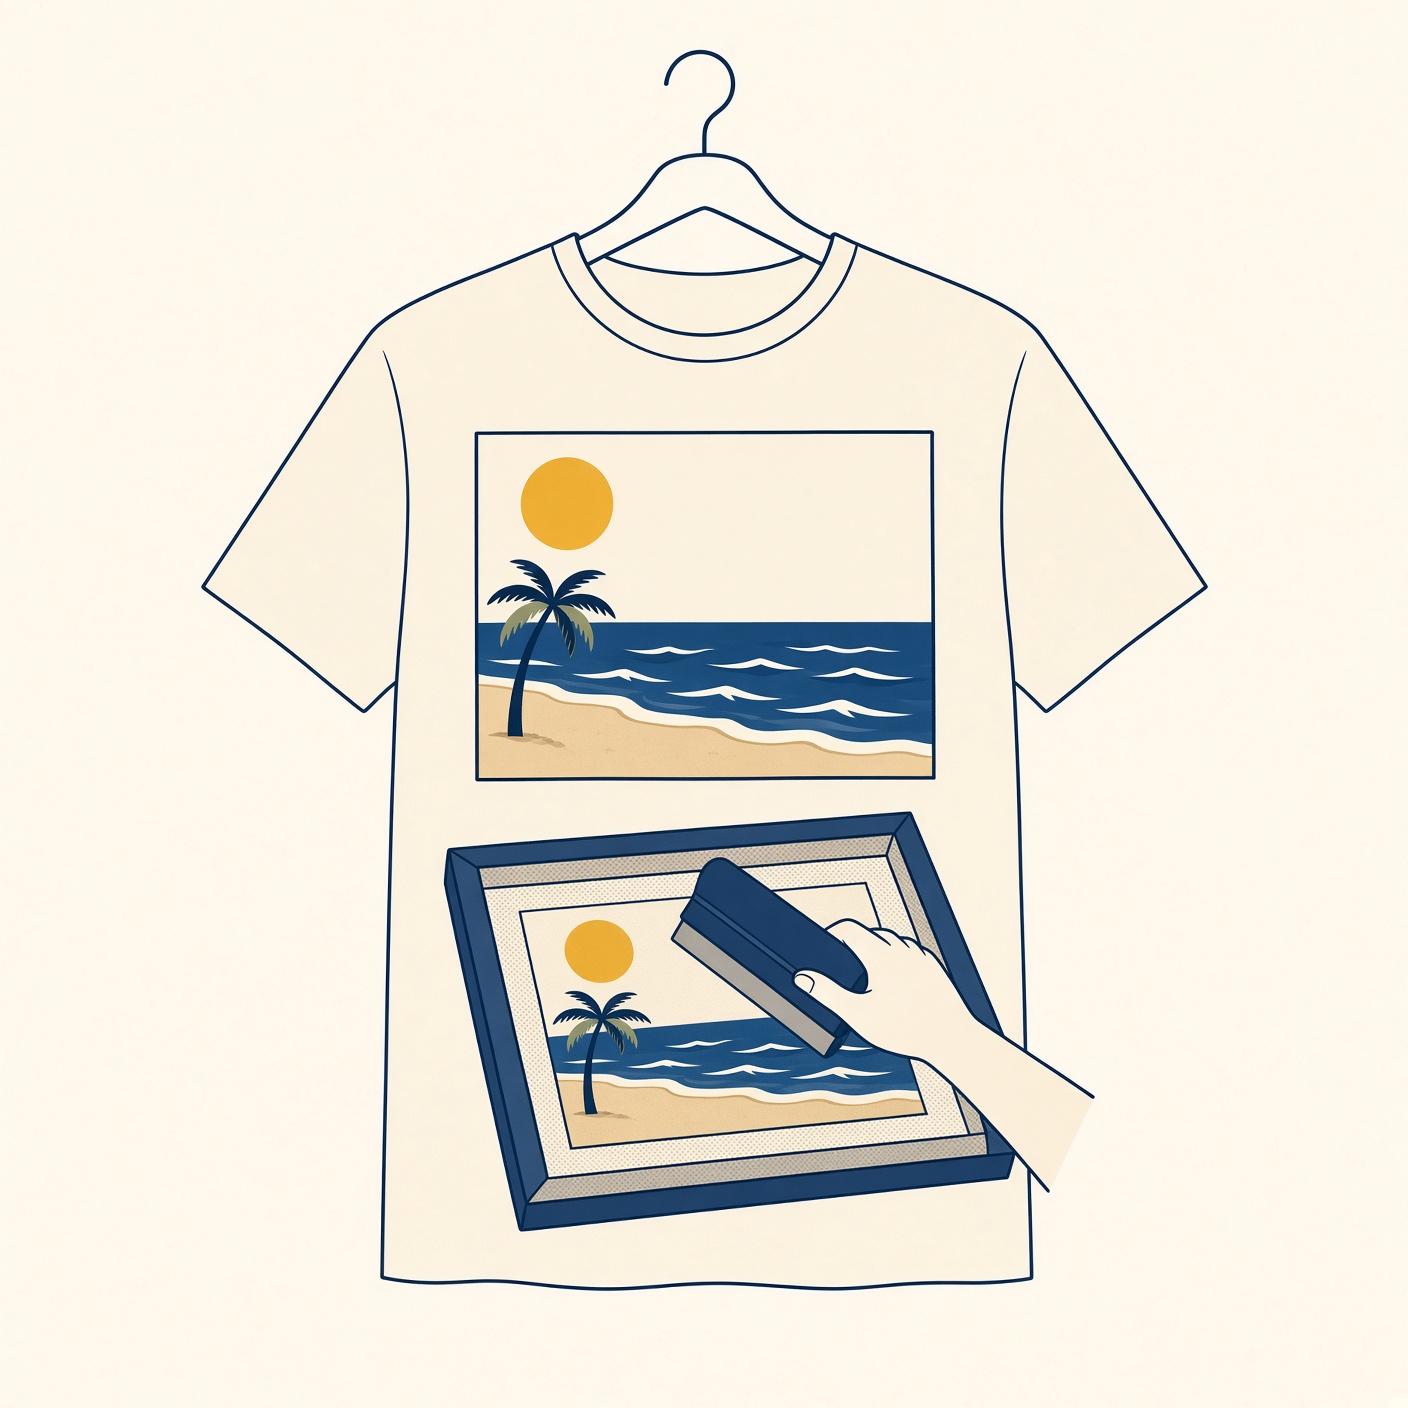
When print is the better decorating methodEmbroidery is the usual call on a golf shirt. Print wins when the art is photographic, the run is large, the budget is tight on a simple graphic, or the garment is a tee rather than a pique polo. Match the process to the fabric and the art — do not default to the method you used last year. Screen printingBest for solid-color graphics on cotton or cotton-blend tees at higher quantities. Each color is its own screen, so a six-color logo costs more to set up than a one-color mark. Setup is the expensive part; extra pieces after that are relatively cheap. If the final quantity is uncertain, ordering a modest overage is often less expensive than a second setup later. DTG and DTFDirect-to-garment prints the ink into the shirt and suits short runs and photo art on cotton. Direct-to-film transfers a printed film with adhesive and works on more fabrics, including many performance blends. Both want a 300 dpi PNG with transparency, not a fuzzy web JPEG. SublimationDye becomes part of polyester. Colors stay vivid and there is no hand to the print, but it only works on light, high-polyester garments. It will not sit correctly on a dark cotton polo. Heat transfer / vinylUseful for names, numbers, and simple one- or two-color marks on small runs. Keep shapes bold. Fine script and large solid fills can peel or feel stiff after washing. Screen-print cost drivers that still surprise buyers
Drop shadows, airbrushed blends, and fine vignettes often print as a dot pattern on a screen. If you need a smooth fade, use a planned one-color halftone — or move that art to DTG/DTF. Do not assume a Photoshop glow will survive separation.
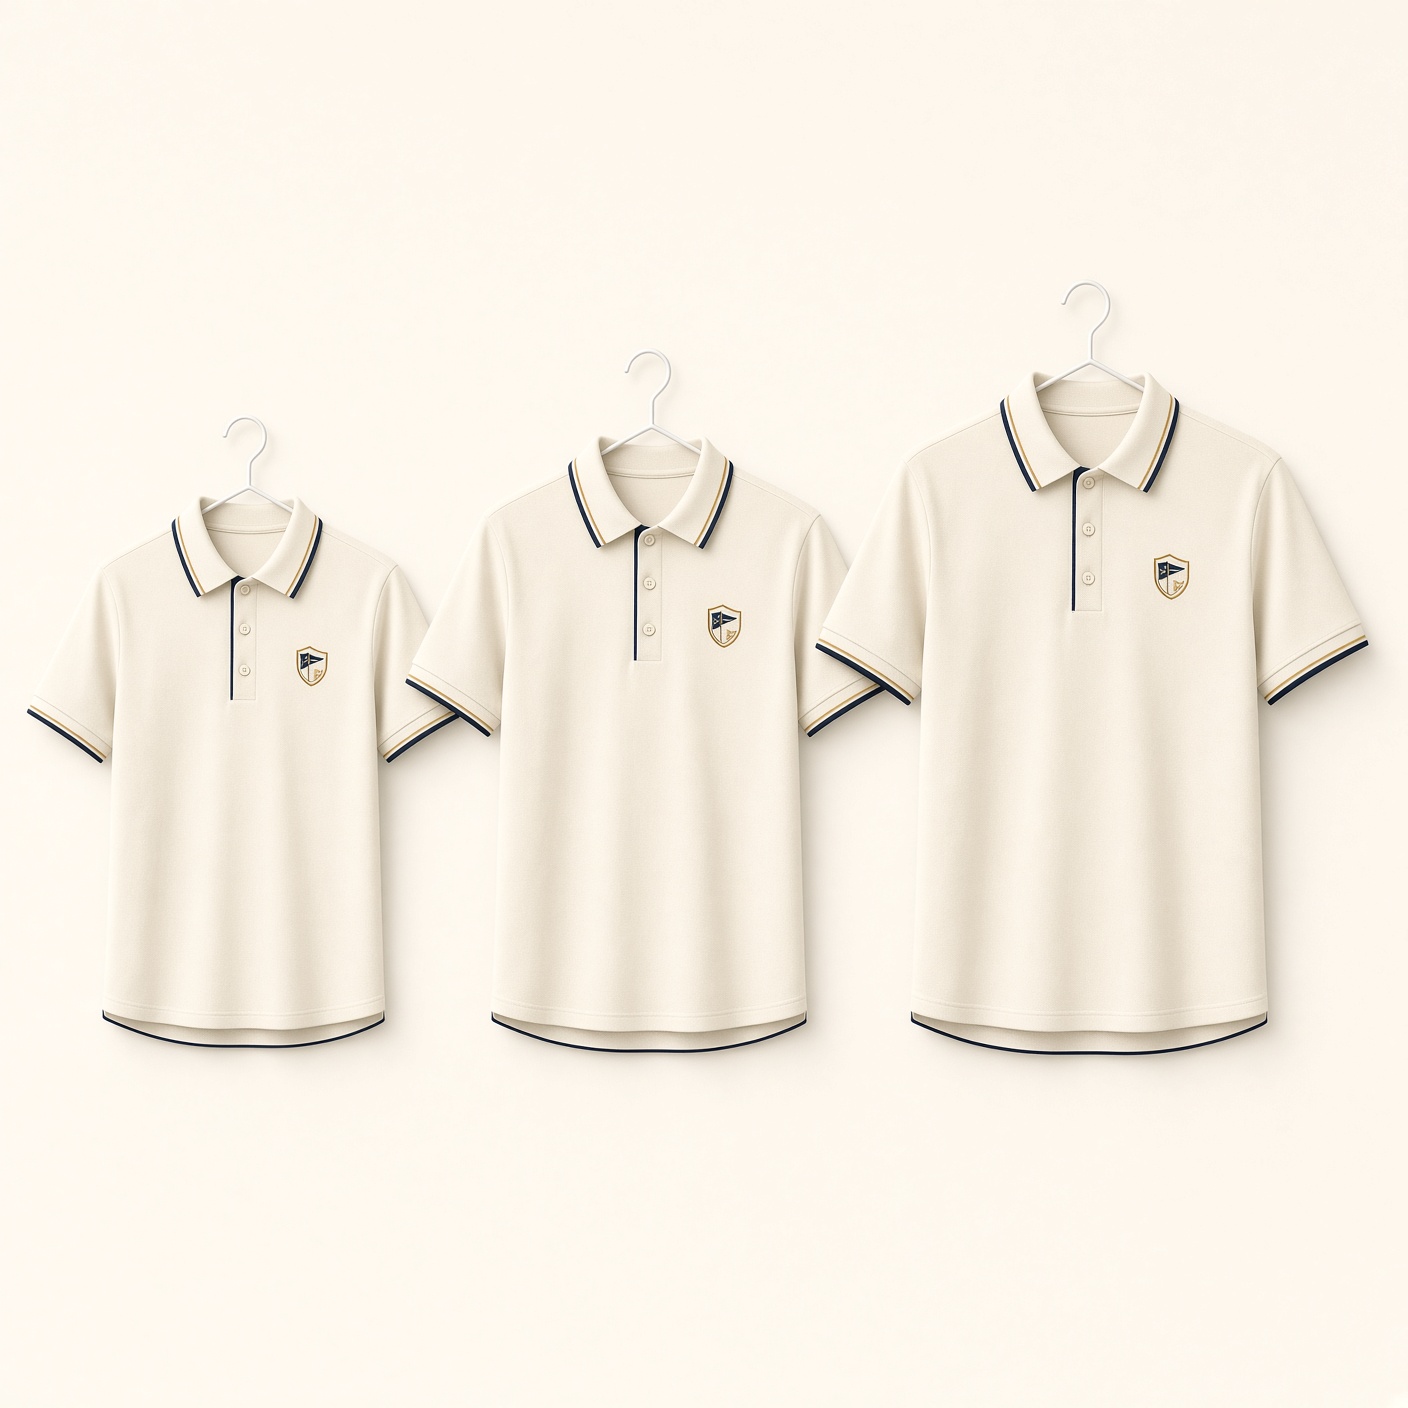
Fit notes and a size mix you can actually useWrong sizes waste more money than almost any decorating choice. Collect real sizes when you can. Use the percentages below only when the roster is still unknown. How cuts are labeled
Group-order starting mixMultiply headcount by each percentage, then round to whole garments. These figures keep the original golf-shirt, woven, and outerwear split used on this buying guide, and they still work as a first pass for club and corporate orders. Golf / performance polos — percent of order
Woven shirts
Outerwear
Unisex / mixed-group baselineWhen the group is mixed and wearing a unisex cut, a practical starting mix is S 10%, M 25%, L 30%, XL 20%, 2XL 10%, 3XL 5%. Example for 24 people: 2 S, 6 M, 7 L, 5 XL, 2 2XL, 2 3XL (round to whole garments).
Extended sizes are not optional extras on a public event. Leaving them out forces people into a garment that does not fit, and those pieces come back or never get worn.
Other buying habits that protect the order
|
- BRANDS
- A - I
- adidas
- AllPro
- Ash City - Extreme
- Authentic Pigment
- Bella
- Blue Generation
- Burk's Bay
- Callaway
- Callaway Special
- Champion
- Charles River Apparel
- Columbia
- Comfort Colors
- Core365
- CornerStone Work Wear
- Devon & Jones
- Dickies
- District
- Dri Duck
- Dunbrooke
- Eddie Bauer
- Fairway & Greene
- Fruit of the Loom
- Gildan
- Greg Norman
- Hanes
- Harriton
- Holloway
- Inner Harbor
- Izod
- J - R
- S - Z
- A - I
- POLOS
- HEADWEAR
- NEW ITEMS
- CLOSEOUTS
- Contact Us
- EMBROIDERY
- Testimonials